A brief introduction; After many years of working hard together, we found ourselves in receivership of long service leave. Originally we had planned to travel internationally. However, our work provides us with plenty of that opportunity and the AUD is weak. Instead, we figured we’d head around Australia. I guess Australia isn’t cheap to travel either, but some of that cost depends on how to travel.
So – driving around seemed like a sensible idea given we’re residents. Camping for 6 months seemed like a stretch, we’ve done that for a month but 6 would be tough (for us), hotelling/motelling is an option but that’s great for keeping close to towns and cities but leaves little room to explore beyond that. Thus really for us pulling something better than a tent was the plan.
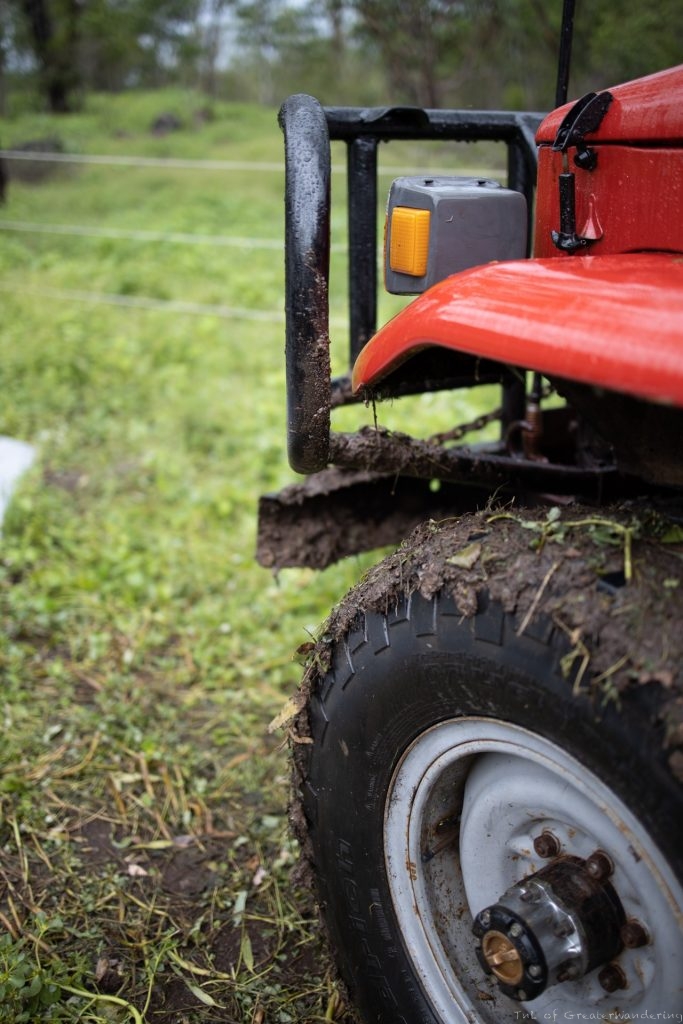
We decided against a big caravan almost immediately without much thought, I guess we just figured that we don’t have lots of people to sleep, and we want to access rugged areas. There are exceptions to that rule but we also don’t have the hundreds of thousands of dollars required to buy something that fits both purposes. We also would need to buy something which could pull it… Yes, that brings us to our car. We have an old land cruiser BJ42, now I (Tim) had thought we could think about changing this over for something more comfortable, but Lena was of the mind that as I’d spent so much of my spare time toying around with the stupid thing that we would get some use out of it for a change… and fair enough!
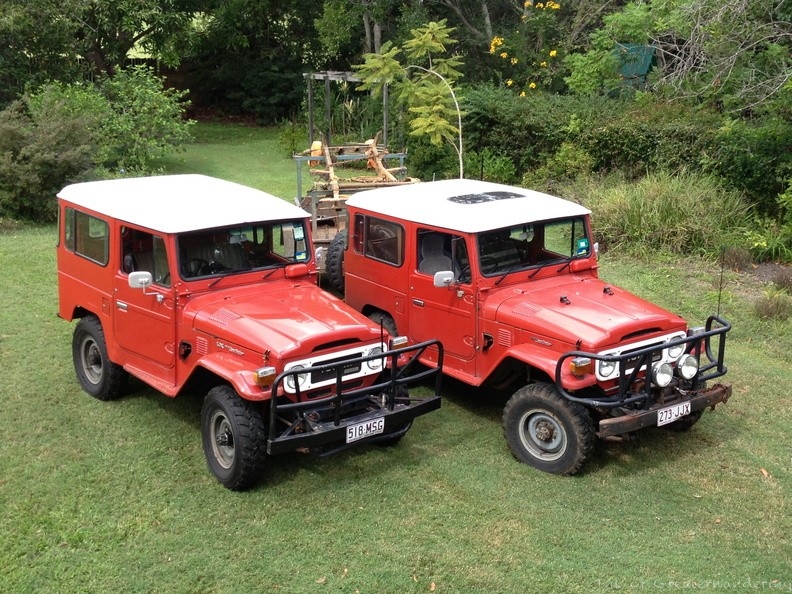
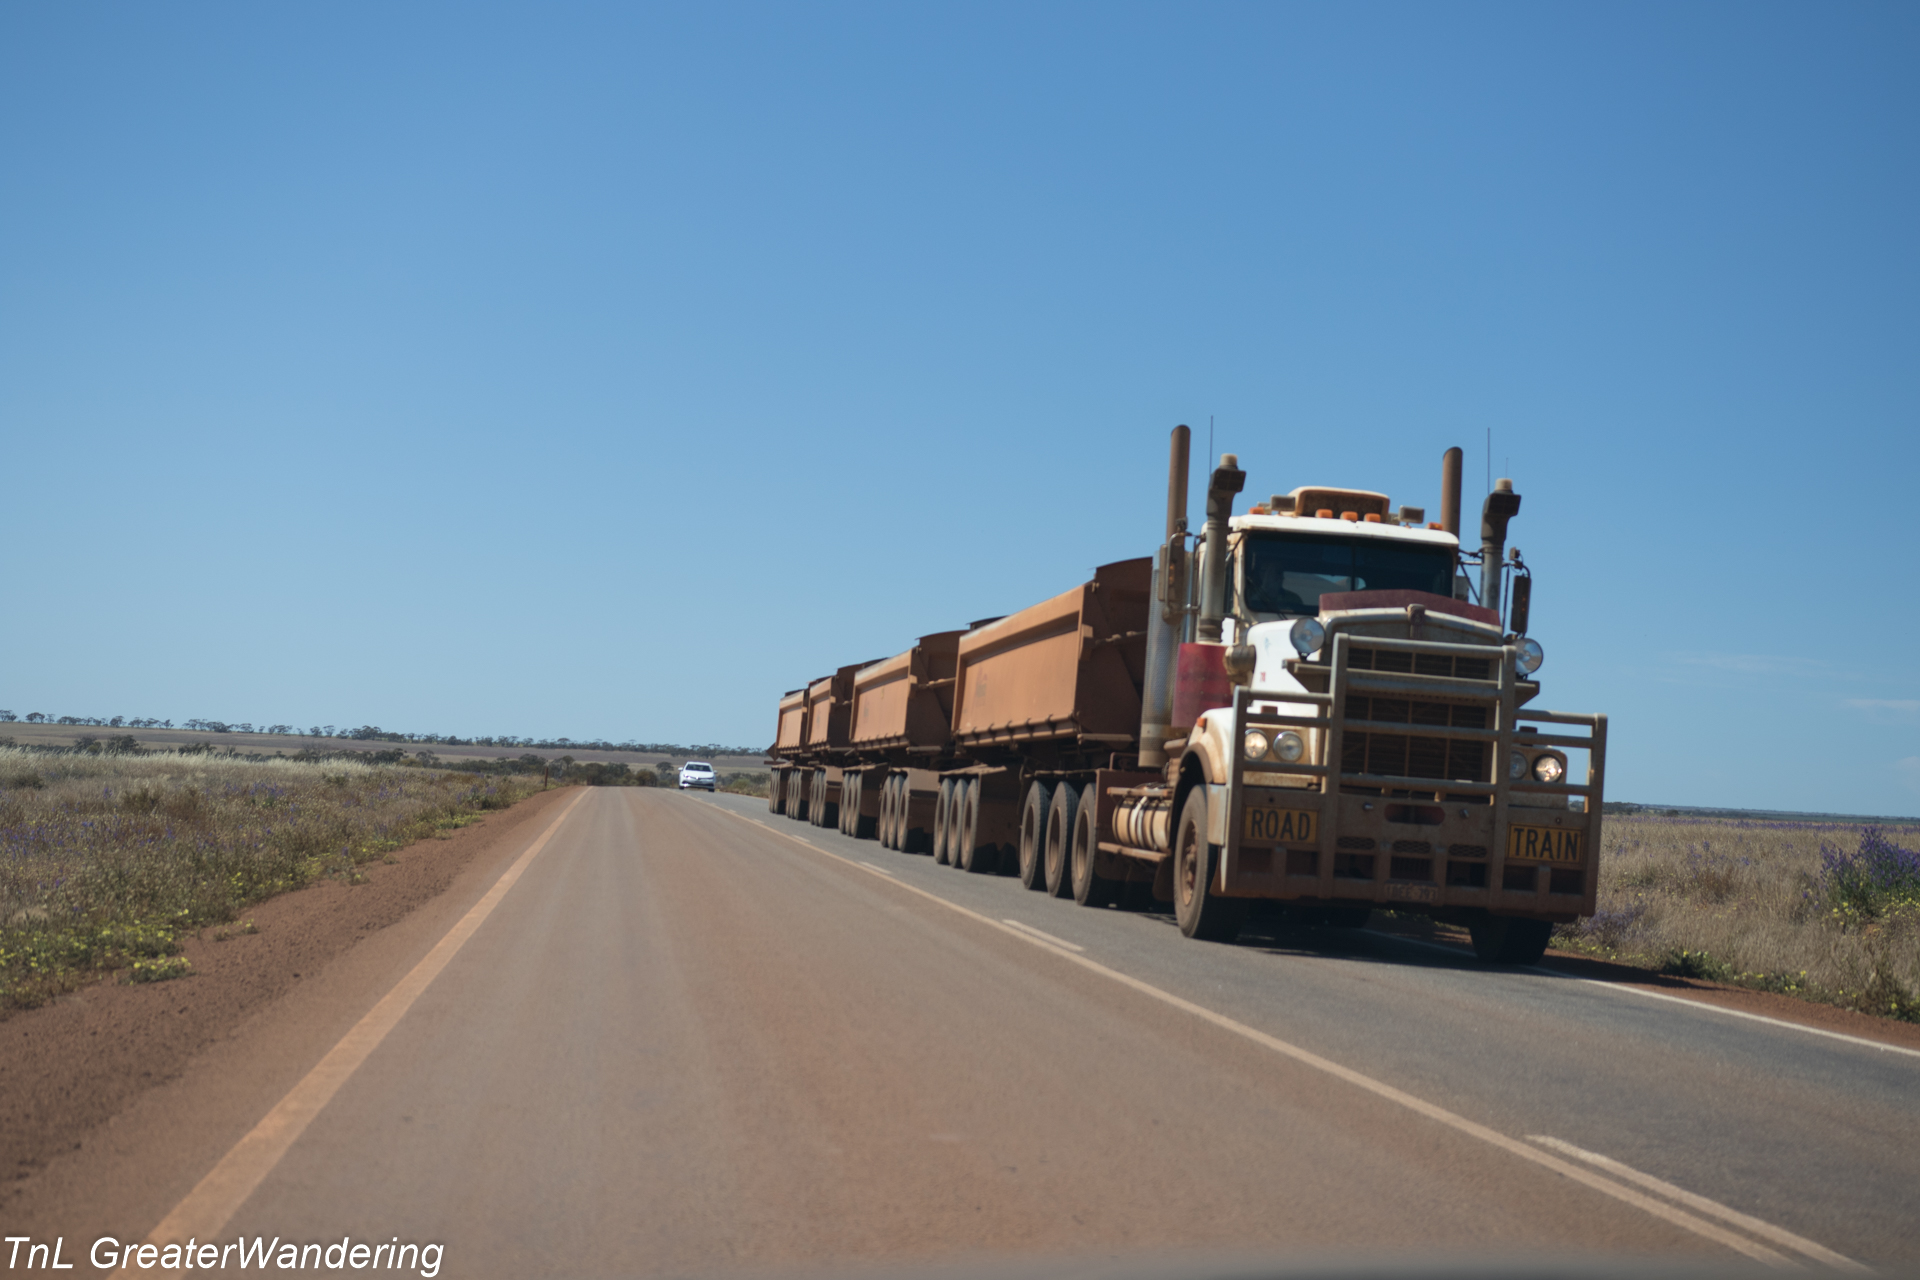
But it’s a Landcruiser? Right, yes they’re those huge cars pulling semi-trailer length caravans along the road, wrong. The small 40 series diesel land cruisers are/ were basically the worlds most powerless cars. The original 3B motor generates a huge 25bhp at the rear wheels (this is less than a reasonable 250cc motorbike makes). However, we did have a leg up on the 3B which has trouble pulling you in the driver’s seat, we found after much searching a 13BT turbo. A little tuning later the car was yielded a whopping 78bhp at the rear wheels. This means we were in the market for a lightweight camper van or trailer that we might be able to tow up gentle hills.
When I was younger my parents toured Australia in a Jayco Lark, I have many fond memories of that caravan. We looked into it and while excellent there was an overwhelming concern that while great on the road, off-road was hard on it resulting in breakage. Do I know for sure? Would it have been a better buy than what we have, who knows? This left us in the world of camper trailers. Our first discovery is that while you get plenty less in a camper trailer it would seem that you don’t pay any less… We thought something in the 10-20k mark would be easy to find. But that’s just not the case, most camper trailers exceed that. Another surprise was that off-road camper trailers are heavy. As that had completely stuffed up our budget, we figured that, bugger it lets just get something that’s good. In the end, we settled on an Ultimate Xplor, and yes, you’re right, it’s more than 20k, more like three times that.
We would put this choice largely down to a few things:
- Something that had everything we wanted and was comfortable and we were confident that we wouldn’t need to test run it multiple times before we departed
- Internal Kitchen
- Very light, 850kg
- Looks good and has a double bed and hot water if you want it
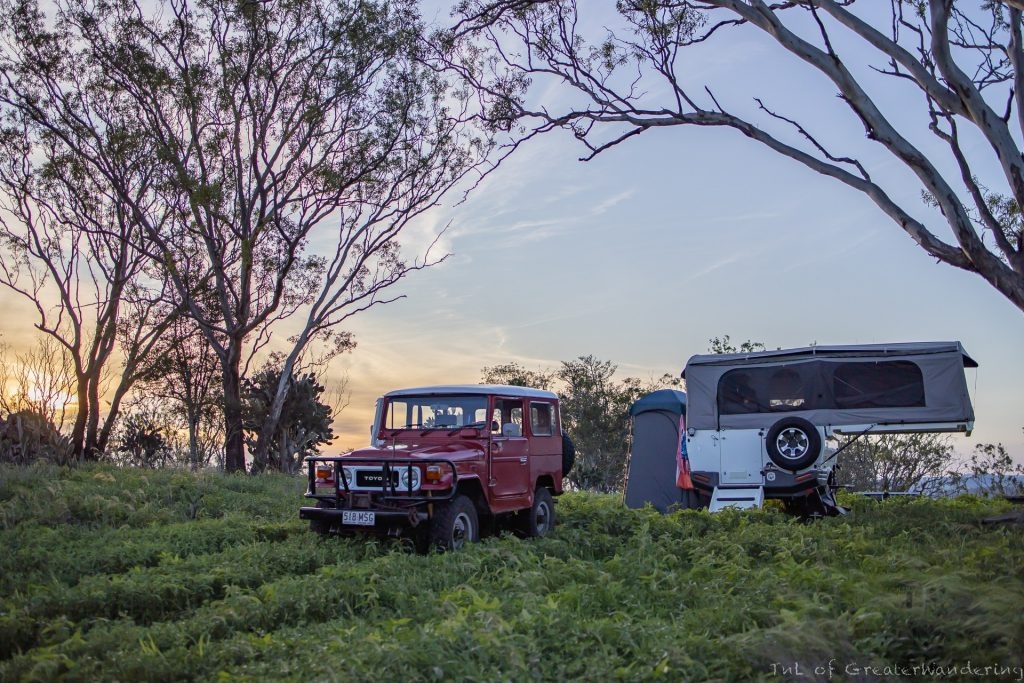
We were going to skip on a test run, but given the weather was nice we thought we’d head up to our family property on the darling downs to see whether the Landcruiser could really pull the van up a steep hill (the Toowoomba range) and that there were no unexpected surprises.
It turns out that some of the things which we ordered like ‘hot water’ in the
Ultimate while seeming gimmicky make for a totally different experience. That being that you don’t have to go to bed in your own personal dirt covering, or psyche yourself up for a cold shower under a bucket to return to human.
So, did we gain anything from the test run and did we miss anything?
- Some spares for the land cruiser.. well that is a never-ending requirement; fan belts, heater hoses, radiator hoses, tin snips to name a few – maybe later I’ll add a full list of tools and spares for anyone foolish enough to take something like this on a trip… and no doubt it’ll never be what’s required
- Surprisingly simple cooking utensils like spatulas and cooking spoons. Normally this would be part of the bbq stuff when camping but we missed it
- Ground matt for the entrance, either that or have dirty feet
- Small broom and some spare rags
Otherwise, all that was left before the trip could commence was some minor car modifications (resonator to cut down on the drone at 100kph, UHF radio and interior console, radiator overflow capture bottle) and packing.


")
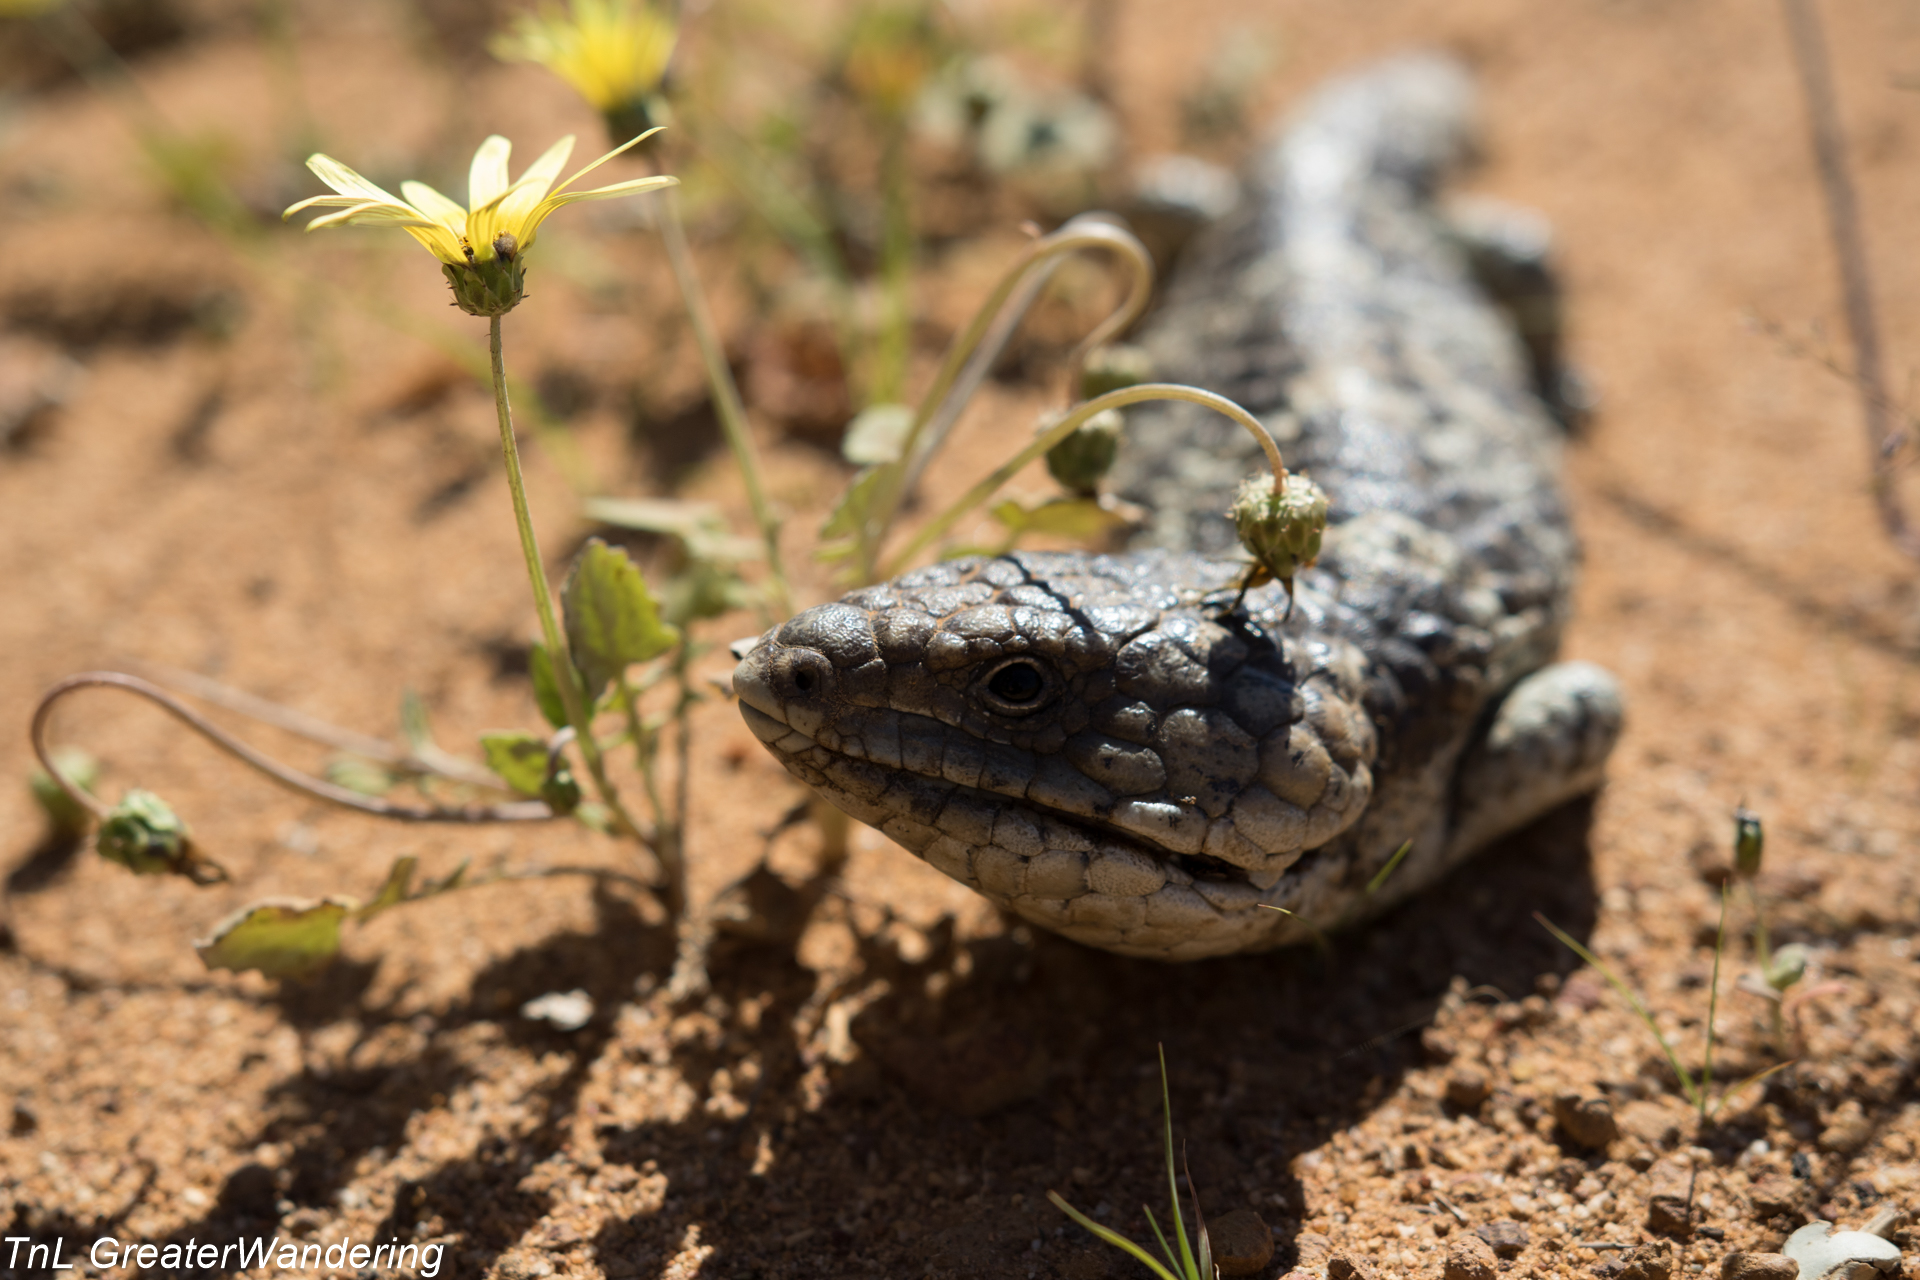
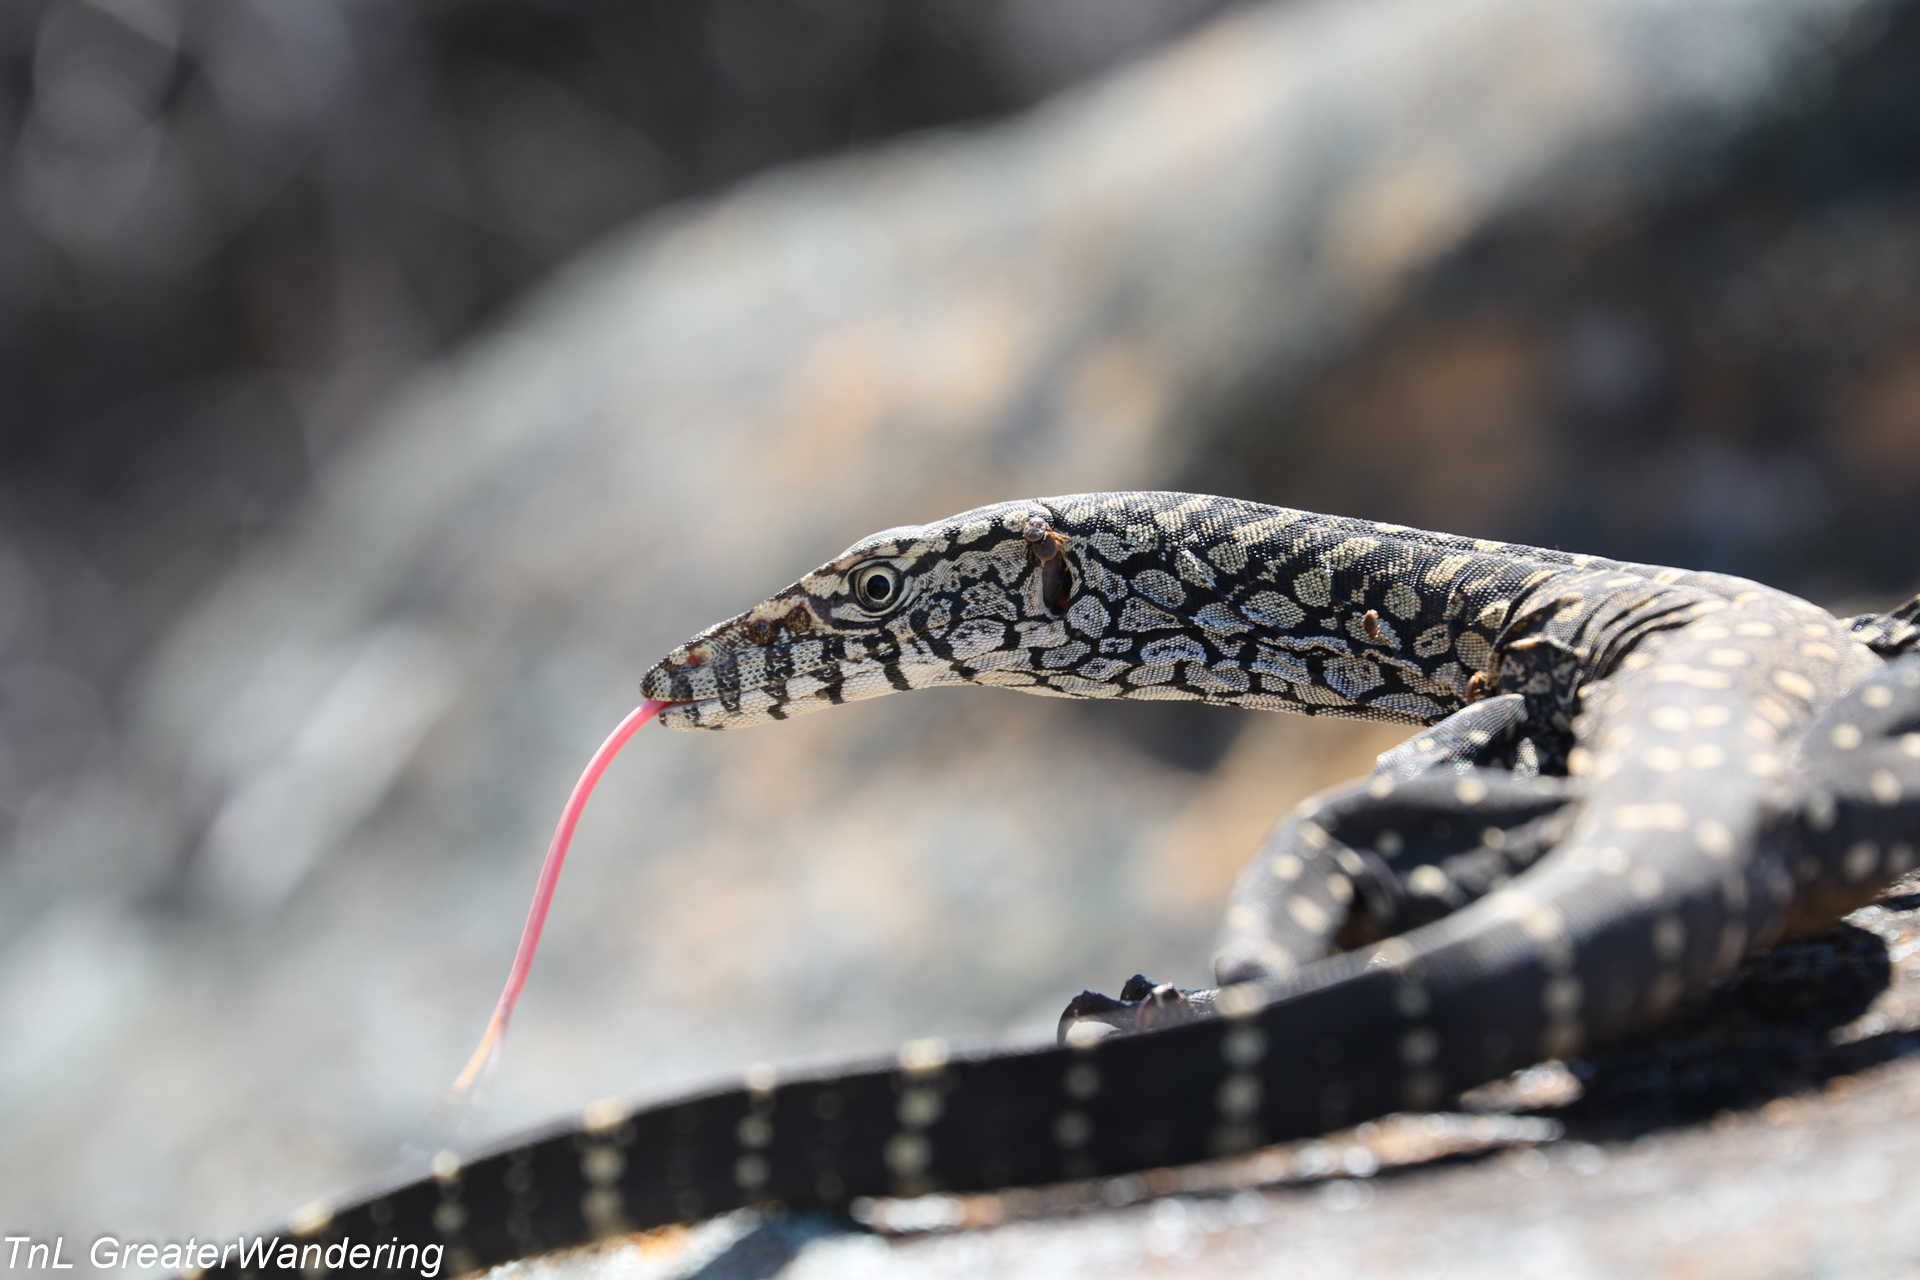
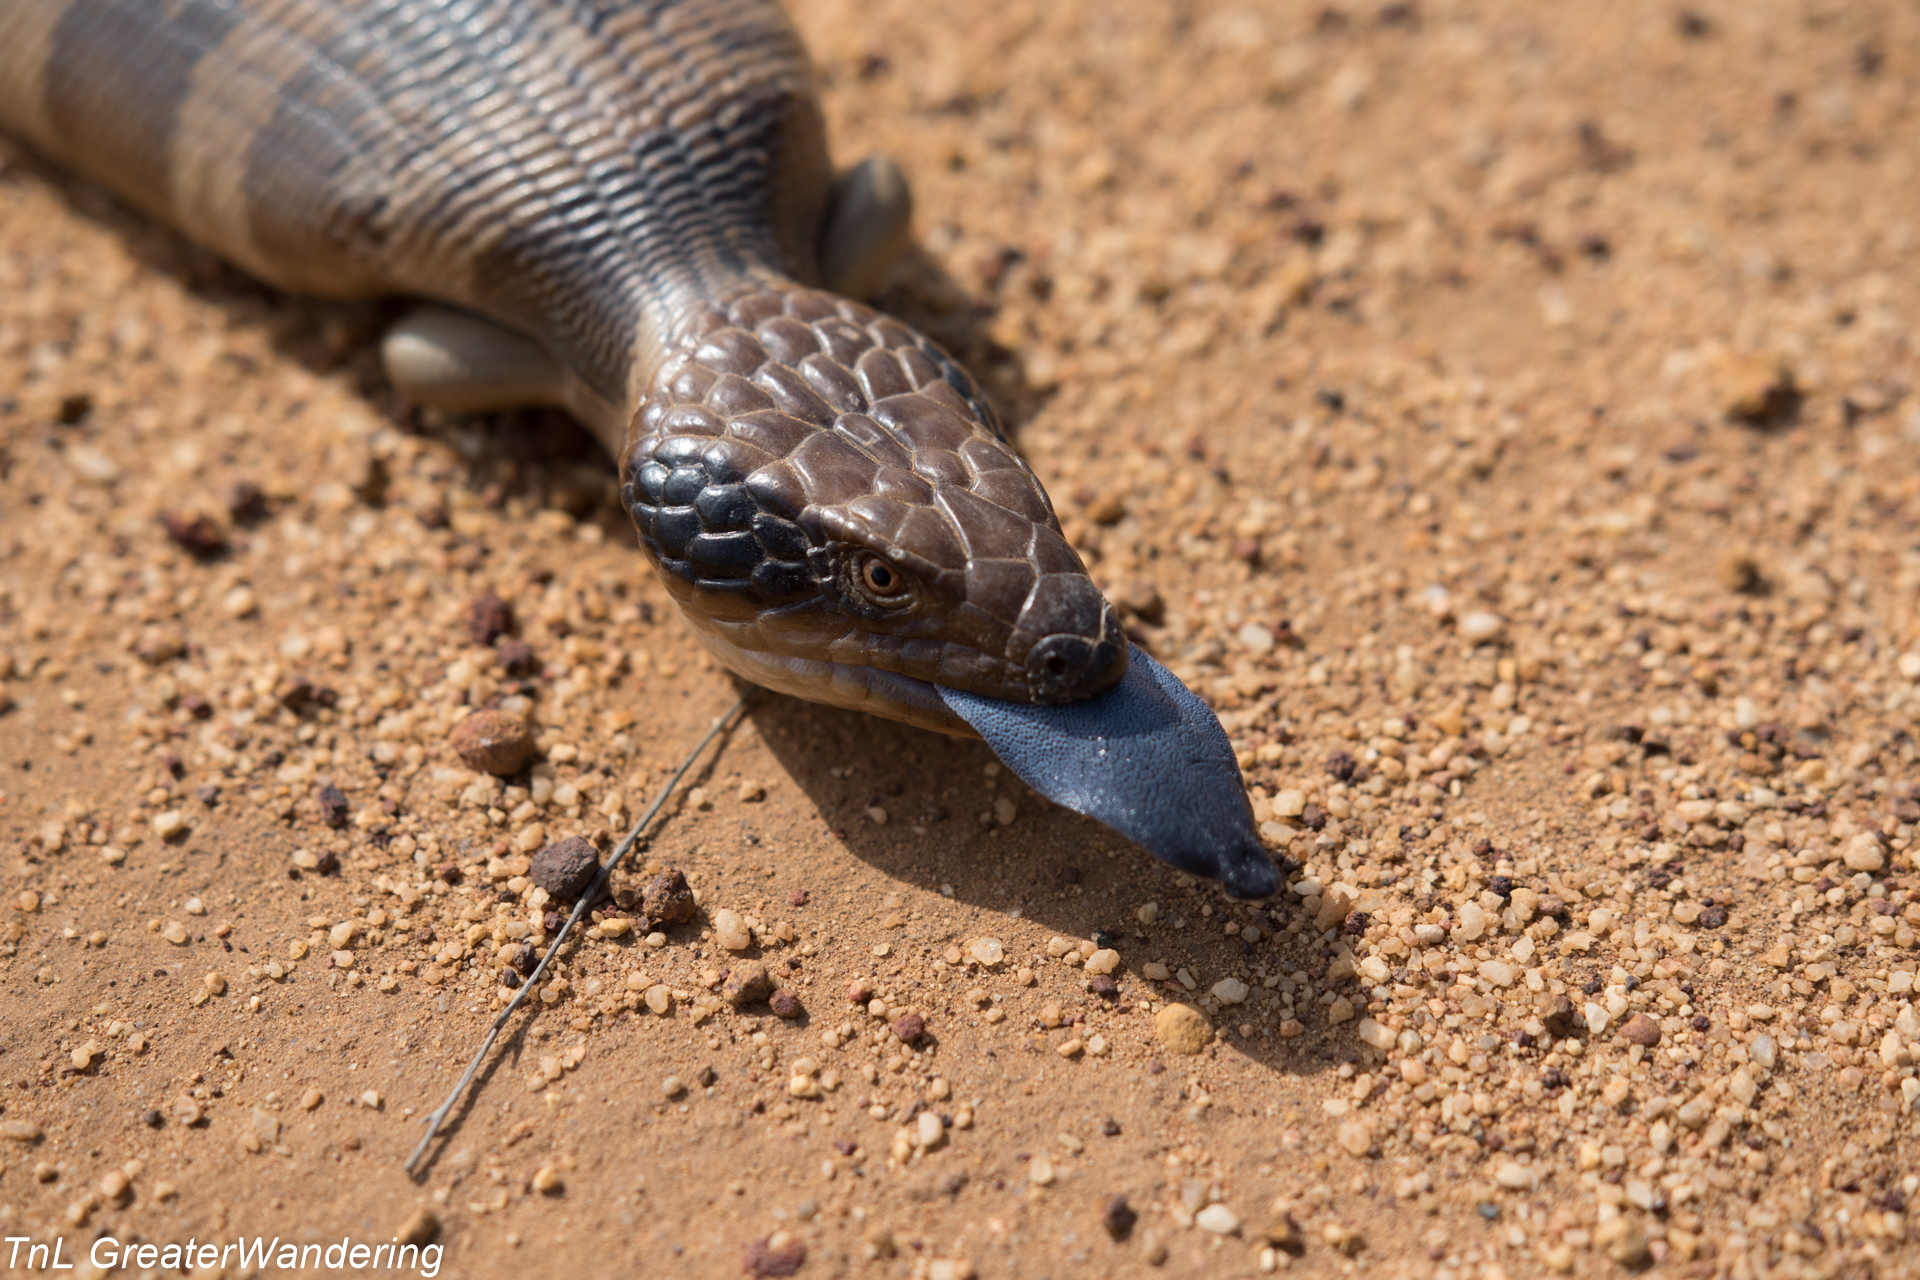
 / Один из многих короткохвостых сцинков")

")


")
")
")